

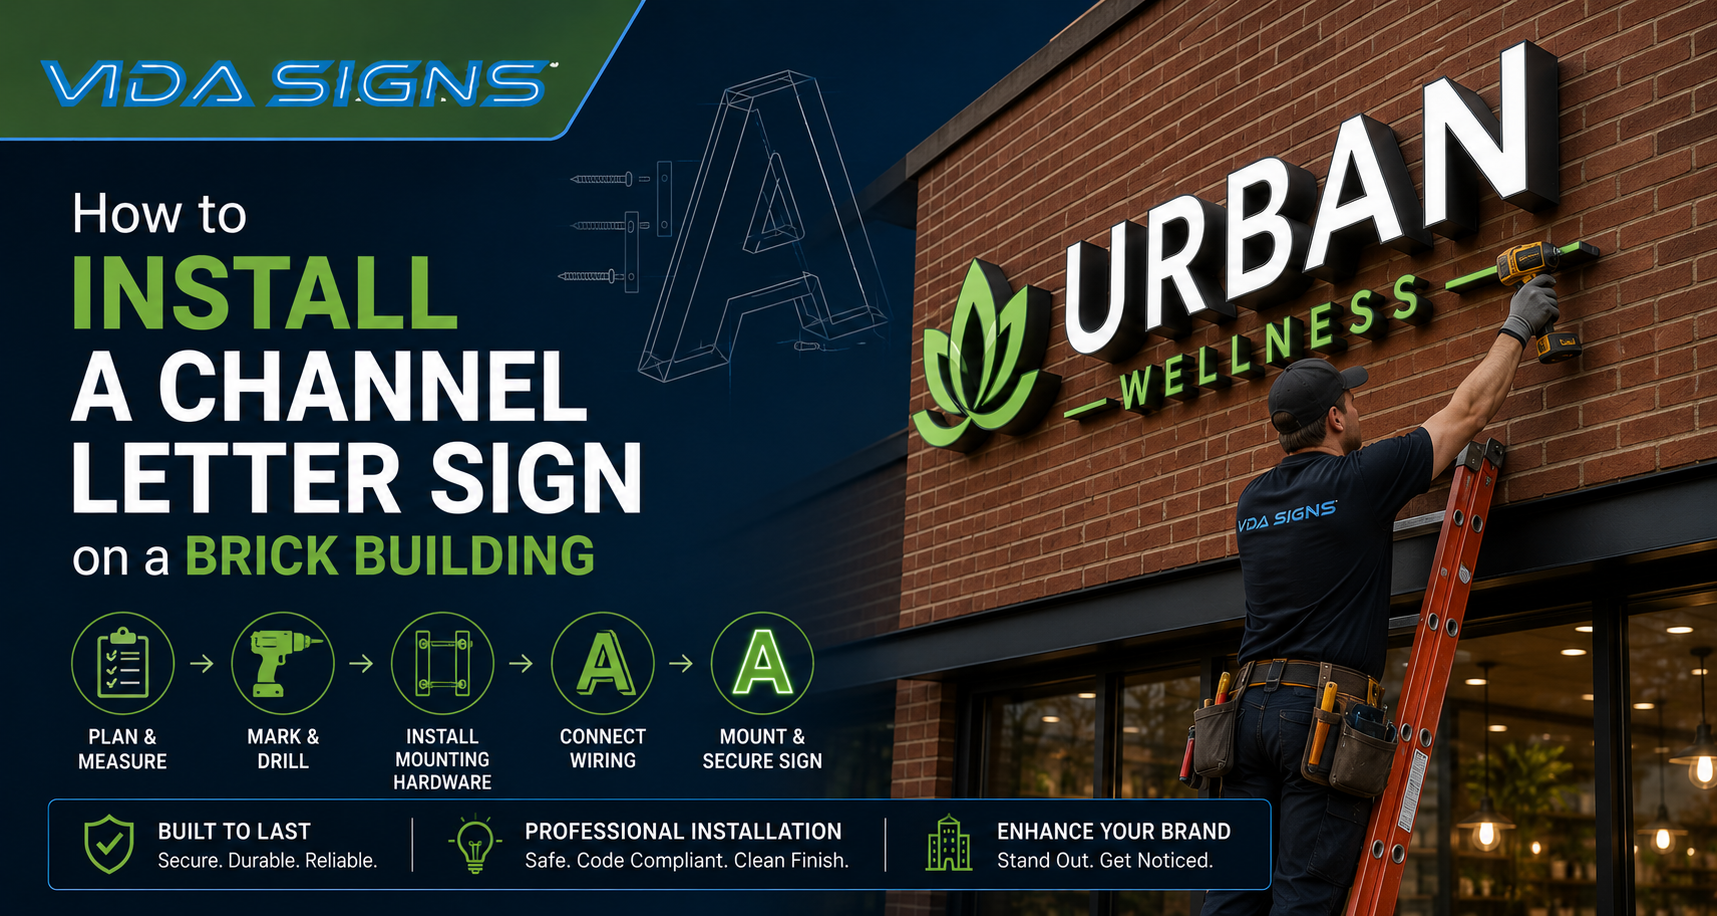
How to Install a Channel Letter Sign on a Brick Building
05 AugInstalling channel letters on a brick building takes more planning than mounting them on many other surfaces. Brick walls require the right mounting method, careful drilling, and proper sealing to keep the sign secure for years.
If you’re planning a channel letter install brick project, this guide explains what to expect from start to finish.
What Is a Channel Letter Sign?
A channel letter sign is an individually fabricated, three-dimensional letter usually made of aluminum with an acrylic face that’s internally lit and mounted to spell out a business name or logo. Because each letter is custom-made and independently illuminated, channel letters read as more premium than a flat panel sign. Most businesses today go with an LED channel letter setup, since LEDs run cooler and last longer than neon.
Besides their modern appearance, channel letter signs are highly customisable. Businesses can choose from front-lit, halo-lit, or combination-lit designs, along with different colours, fonts, and finishes to match their branding. Because each letter is manufactured individually, the final sign delivers a clean, professional look that’s easy to read from a distance.
Why Installing Channel Letters on Brick Requires Special Care
Every brick wall is a little different. Older brick, worn mortar, or previous repairs can all affect how the sign should be installed. That’s why a channel letter install brick project takes careful planning before the first hole is drilled.
That’s also why sign mounting brick projects typically take longer than installs on smoother surfaces. Every hole has to be planned around mortar lines and the wall’s condition. Spending a little extra time during the planning stage can help prevent unnecessary repairs later.
Tools and Materials You’ll Need
Before starting, make sure you have the right gear on hand. Professional installers typically carry the following tools:
- Hammer drill
- Masonry drill bits
- Masonry anchors
- Stud finder (if applicable)
- Raceway
- Silicone sealant
- Level
- Measuring tape
- Safety equipment (gloves, safety glasses, harness if working at height)
Using the correct hardware to anchor signs to masonry matters most on this list because standard drywall anchors simply won’t hold in brick.
Preparing the Brick Surface Before Installation
Preparing the brick surface is one of the most important parts of any channel letter installation.
Inspect the Brick Condition
Look for cracks, crumbling mortar, or soft spots before you drill. Damaged brick won’t hold anchors securely.
Locate Mortar Joints
Mortar joints are easier to drill into than brick itself, but aren’t always the strongest anchor point for heavier letters. A good installer maps out each hole location based on the letters’ weight.
Measure and Mark the Layout
Use a paper or vinyl template to mark where each letter will sit before you start drilling. A well-marked layout makes it easier to mount channel letters brick accurately.
Verify Electrical Access
Before the layout is finalized, check where the power will come from and how the wiring will reach the sign. Sorting this out early helps avoid unexpected changes during the installation.
Choosing the Right Mounting Method
There are two primary approaches used on brick buildings, and the right one often comes down to budget and how many holes you’re comfortable drilling. Most NY Signs projects on brick default to raceway mount for exactly this reason.
Raceway Mount
A raceway also makes future servicing much easier. If wiring or power supplies ever need attention, technicians can access everything from a single enclosure instead of removing individual letters. This is one of the main reasons raceway mounts are commonly recommended for retail storefronts and leased commercial buildings.
Flush Mount
With a flush mount, each letter is installed directly onto the wall rather than in a raceway. The wiring runs behind the brick, so only the letters are visible from the front. It takes more time to install, but the finished result has a clean, uncluttered look.
Raceway vs Flush Mount
When it comes to raceway vs flush mount, it’s appearance versus practicality. Raceway is faster, easier to service, and more budget-friendly for brick since it limits drilling. Flush mount looks more polished, but on brick it means more precise hole placement and typically higher labor cost.
Step-by-Step Channel Letter Installation on Brick
Step 1: Create and Position the Mounting Pattern
A full-size template is used to mark where each letter will go. Once the layout looks right, the drill points can be marked.
Step 2: Drill Into the Brick Correctly
Each hole is drilled with a hammer drill and a matching masonry bit. Taking your time here can help prevent damage to the brick.
Step 3: Install Masonry Anchors
Fit the masonry anchors into the drilled holes and make sure each one is firmly seated before moving on.
Step 4: Mount the Raceway or Individual Letters
Secure the raceway first, or mount channel letters brick one letter at a time. Check the alignment before tightening everything into place.
Step 5: Connect Electrical Wiring
Once everything is mounted, a licensed electrician can connect the wiring to the building’s electrical system.
Step 6: Seal Every Penetration
Finish by sealing each drilled hole and wiring entry point with exterior-grade silicone. It’s one of the final steps in a channel letter installation and helps keep moisture from getting behind the sign.
Step 7: Test Lighting and Alignment
Turn the sign on and look for any dim letters or alignment issues. Make any final adjustments before the job is complete.
Common Installation Mistakes to Avoid
- Drilling without checking for weak or crumbling brick
- Using the wrong anchor type for the wall
- Skipping sealant around wiring penetrations
- Rushing a channel letter install brick job without a proper template
- Skipping electrical code compliance checks
Maintenance Tips After Installation
Once your sign is up, keeping it looking sharp doesn’t take much:
- Clean acrylic faces periodically to maintain brightness.
- Check for flickering or dim letters and address issues early.
- Reseal exposed penetration points if you notice wear.
- Inspect anchors annually, especially in areas with heavy weather.
- Remove dirt, dust, and debris that can build up around the letters.
- Arrange professional servicing if electrical components stop working as expected.
An LED channel letter setup typically requires very little upkeep beyond this, but regular inspections can help identify small issues before they turn into expensive repairs.
Bottom Line
A great-looking sign starts with a solid installation. From the first measurement to the final lighting test, every stage plays a part in how your sign looks and performs once it’s on the wall.
Not sure which mounting method is right for your building? As a Sign Company NYC businesses trust, Vida Signs handles everything from permitting to wiring and final testing. Call (212) 388-9388 and let’s get your sign installed right the first time.
Frequently Asked Questions
1. Can you install channel letter signs directly on brick?
Yes. Brick is a suitable surface for channel letter signs as long as the right masonry anchors and installation methods are used.
2. Should channel letters be mounted on brick or mortar?
It depends on the wall and the weight of the sign. An experienced installer will choose the safest mounting point based on the building’s condition.
3. What is the difference between raceway and flush mount?
A raceway mount keeps the wiring inside one metal enclosure, while a flush mount places each letter directly on the wall. The best option depends on the look you want and how easy you want future maintenance to be.
4. What anchors are best for brick sign installation?
Most installers use sleeve or wedge anchors for brick walls. The right choice depends on the size of the sign and the condition of the brick.
5. How deep should masonry anchors be installed?
Anchor depth isn’t always the same. The right depth will vary based on the hardware and the size of the sign being installed.
6. Can I install channel letters without drilling into brick?
Usually not. Most permanent channel letter signs require drilling to secure the letters and safely route the electrical wiring.
7. How do you waterproof channel letter installation?
Every drilled hole and wiring entry point should be sealed with exterior-grade silicone to help prevent water from getting behind the sign.
8. How long does channel letter installation take on a brick building?
Most installations take one to three days, depending on the size of the sign, mounting method, and the condition of the brick wall.
